Previously, we mentioned running multiple setups with residential networks. Commercial residential IP services are still expensive. Today, I will show you how to deploy Squid (Docker) + ZeroTier at home. Most households do not have a public IP. ZeroTier offers a free and stable option. It builds a remote network without using external servers. In this article, I will explain how to set up Squid with Docker quickly. Then we will use ZeroTier to enable safe remote access between home devices.
之前我们提到过家庭网络多开,市面上的住宅IP服务依然很贵。今天我将介绍如何在家里部署 Squid(Docker)+ ZeroTier。大多数家庭没有公网IP,ZeroTier 提供了一个免费又稳定的选择。它可以在不依赖外部服务器的情况下建立远程网络。在这篇文章中,我会讲解如何快速通过 Docker 部署 Squid,然后结合 ZeroTier 实现家庭设备之间的安全远程访问。
1.Docker Installation/Docker安装
See my previous article:How to Download and Run Docker
见我之前的文章:How to Download and Run Docker
2.One-click Script (Linux / macOS / WSL)
Save as `install_squid.sh` and run.
保存为 `install_squid.sh` 并运行:
#!/usr/bin/env bash
read -p "Install Docker Squid here? (y/n): " choice
if [[ "$choice" != "y" ]]; then exit 0; fi

if ! command -v docker &> /dev/null; then
    echo "Docker not found, please install first."
    exit 1
fi

cat > squid.conf <<EOF
http_port 3128
acl all src 0.0.0.0/0
http_access allow all
EOF

docker rm -f squid >/dev/null 2>&1
docker run -d --name squid   -p 3128:3128   -v $(pwd)/squid.conf:/etc/squid/squid.conf:ro   sameersbn/squid:latest

sleep 2
curl -x http://127.0.0.1:3128 https://ifconfig.me
echo "Squid started on port 3128"
One-click Script (Windows .bat)
Save as `start_squid.bat` and double-click.
保存为 `start_squid.bat`,双击运行:
@echo off
echo === Start Squid (Docker) ===
echo http_port 3128> squid.conf
echo acl all src 0.0.0.0/0>> squid.conf
echo http_access allow all>> squid.conf

docker rm -f squid 2>nul
docker run -d --name squid -p 3128:3128 -v "%cd%\squid.conf":/etc/squid/squid.conf:ro sameersbn/squid:latest

timeout /t 3 >nul
curl -x http://127.0.0.1:3128 https://ifconfig.me
echo Squid started on port 3128
pause
3.ZeroTier
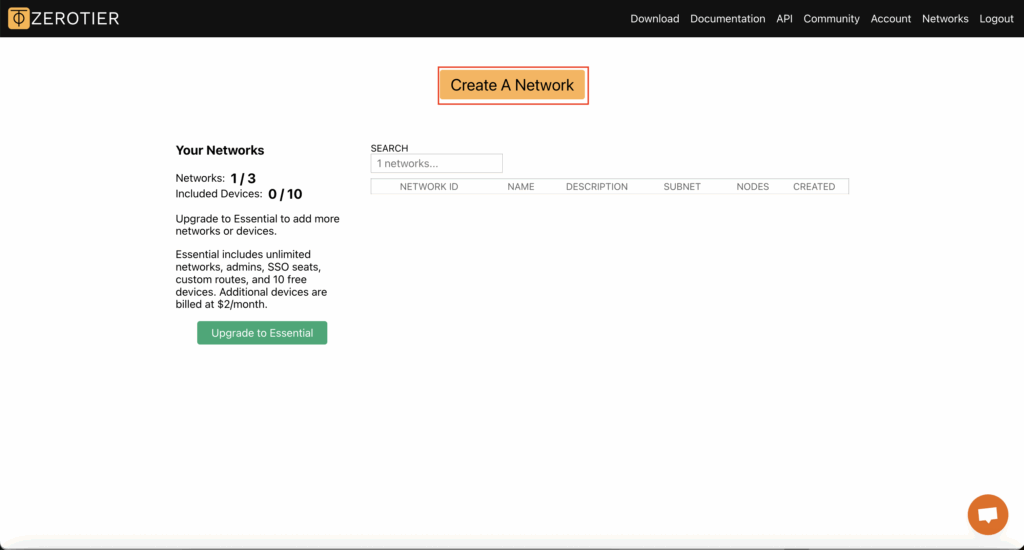
1. Create a network at Official website/ZeroTier 步骤在 官网 创建一个网络。
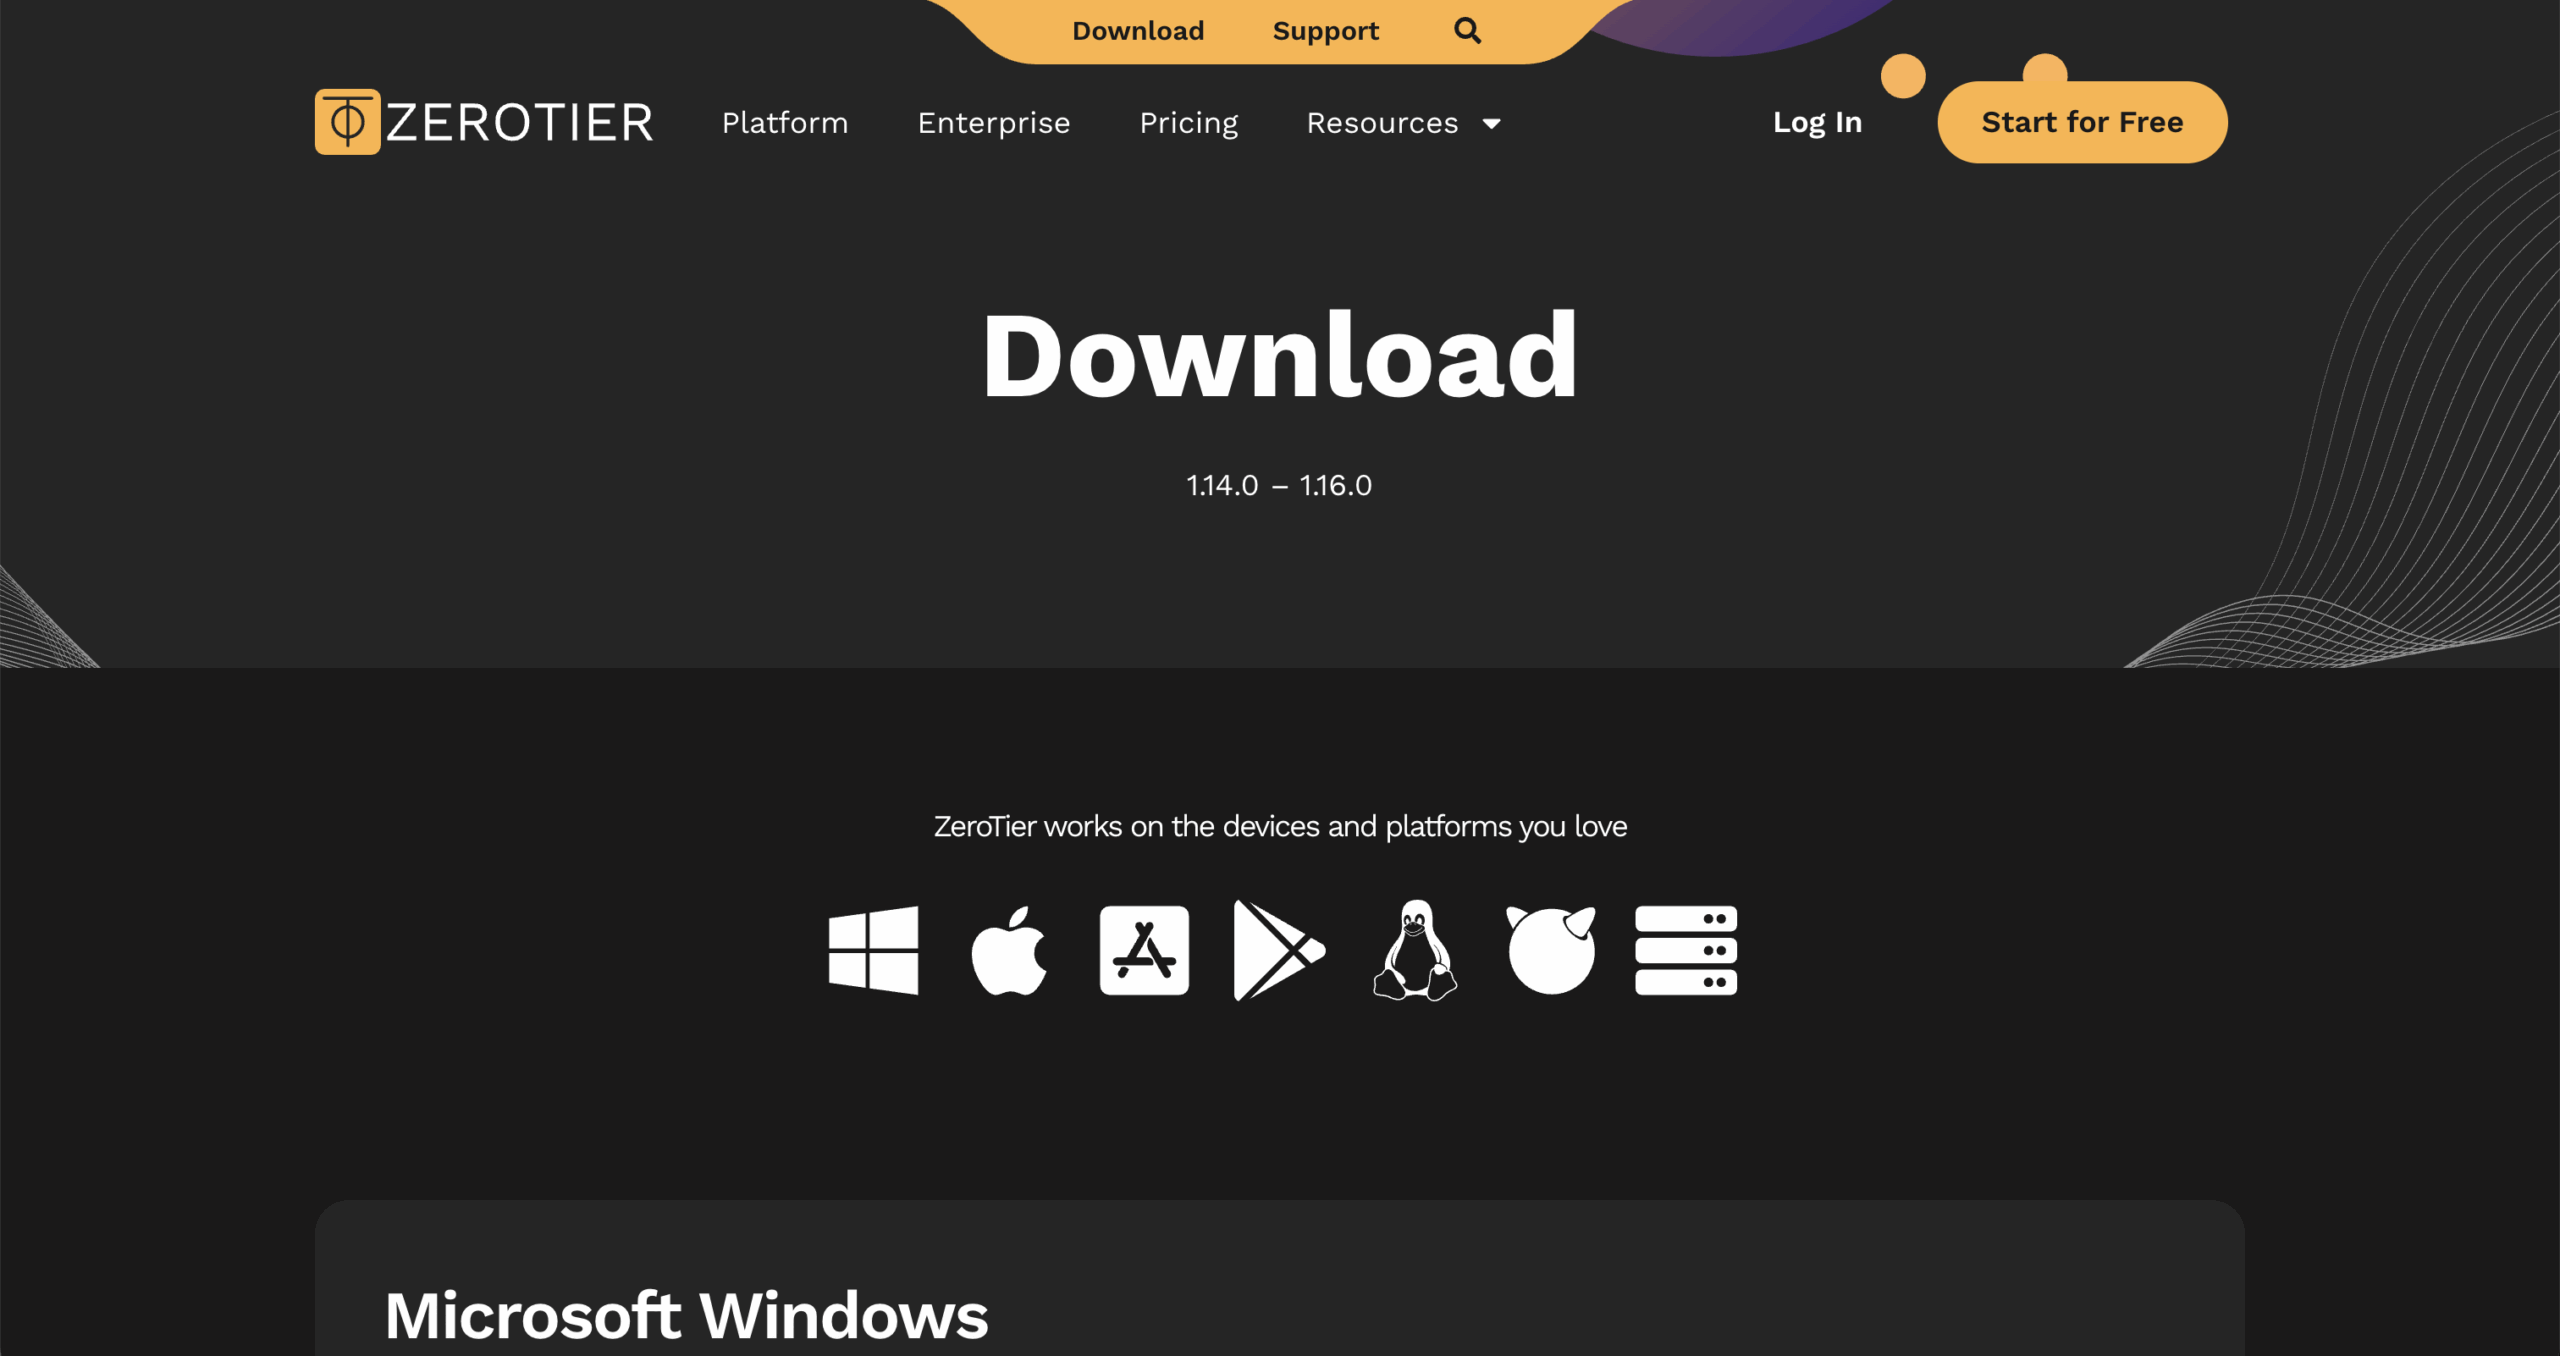
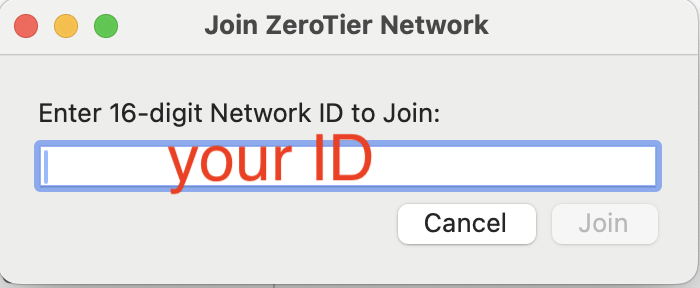
2. Install ZeroTier client on your home server and remote device, join the same network./在家里服务器和远端设备上安装 ZeroTier 客户端,加入同一个网络.

3. Authorize the remote node in the console./在控制台中 **Authorize** 远端节点。
4. Note your home server’s ZeroTier IP (e.g. `10.147.x.x`).\记下你家设备的 ZeroTier IP(例如 `10.147.x.x`)。
4.Connect/连接
(I).Firefox连接/Firefox Connection
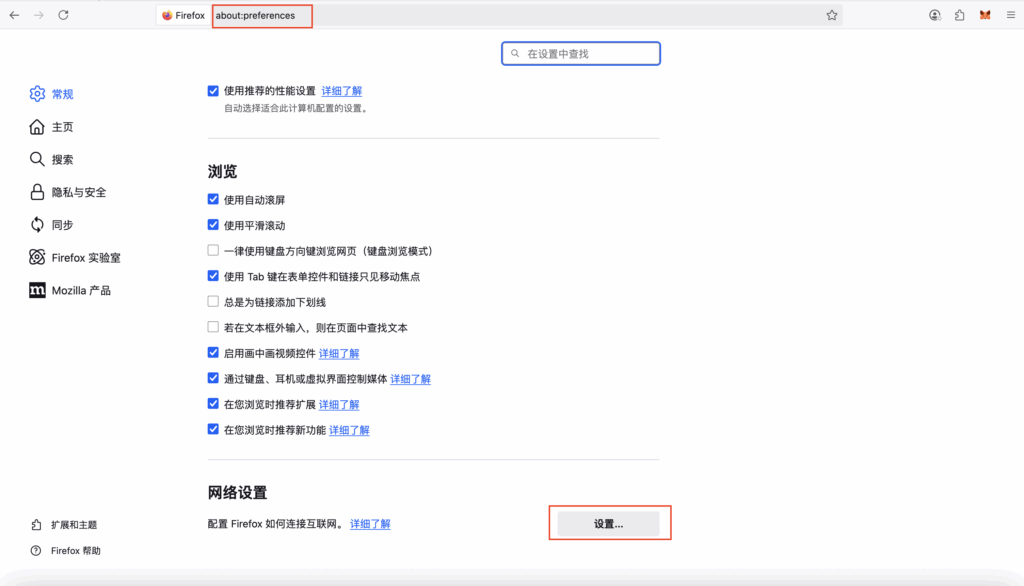
You can directly configure the connection in Firefox and its core browsers, as shown in the figure below. Find it in the settings, fill in the IP (zerotier IP) and port number, and you can connect without a username and password. Firefox’s connection can meet most of our needs.
在Firefox及其内核的浏览器里面可以直接进行配置连接,如下图,在设置中找到,进行ip(zerotier的IP)填写及端口号,无用户名密码,即可连接.Firefox的连接可以满足我们大部分需求.

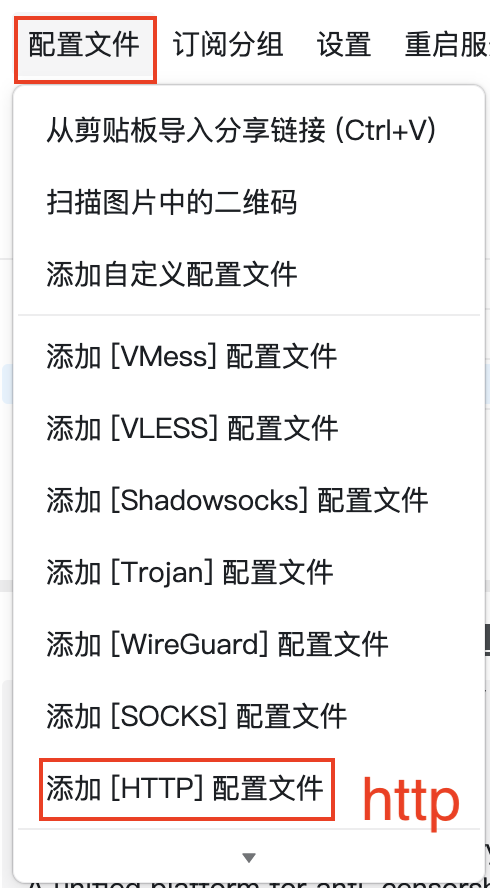
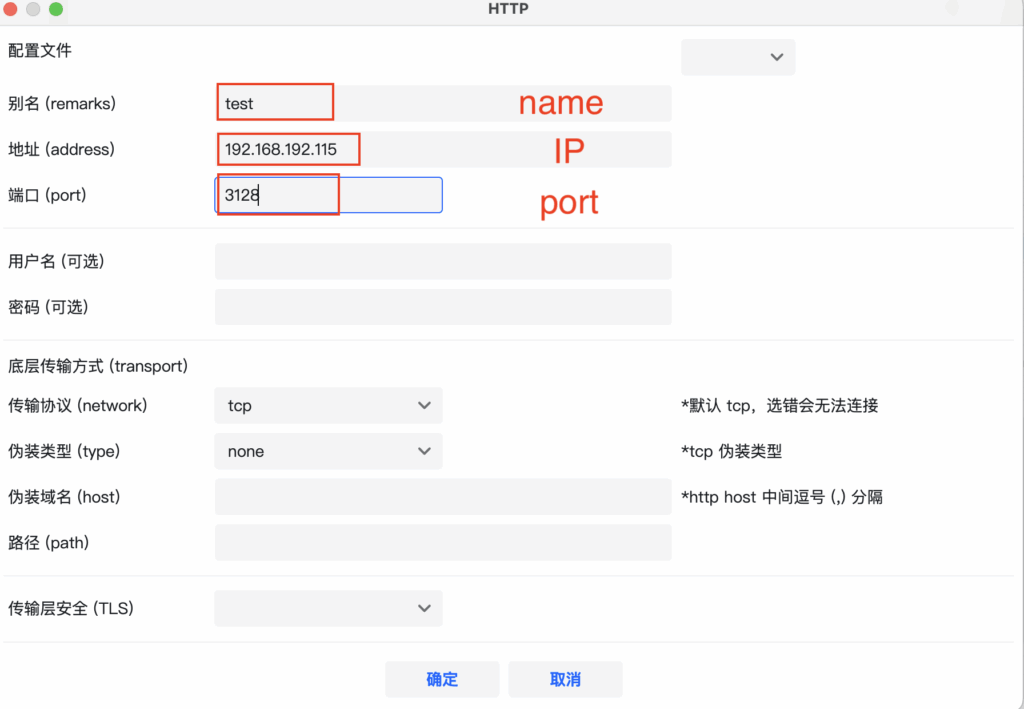
I’ve previously introduced V2rayN, which can be used to connect to Vless, Vmass, ShadowSocks, and more. It also works with http/https, allowing us to use this proxy globally! However, it won’t work on mobile phones, as V2ray and ZeroTier can’t run simultaneously on either Android or iOS. A simpler solution is to have a server on the client side to forward the network, or bypass the router.
之前给大家介绍过V2rayN, 它可以用来连接Vless, Vmass, ShadowSocks等,其实呢http/https也是可以的,这样我们就可以全局这个代理了!不过手机用不了,因为V2ray和zerotier无论是在Android还是iOS上都不能同时运行,简单的方法在使用端有一个服务器,进行网络转发,或者旁路由.